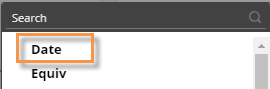
Add a date selector
You can add a date selector to the filter panel to allow selection of a workspace end date so that multiple widgets can be adjusted simultaneously.
|
To add a date selector to the filters panel |
|
|
|
|
|
 at the top of the dashboard screen to open the filter panel.
 icon.
icon.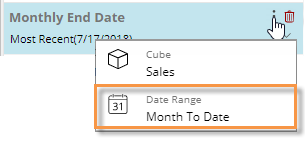
|
Tips: |
|
|
The selected date cube controls the available dates. You may need to change the data cube associated with the date selector to make the desired dates available. In the Filter panel, this can be done by clicking the |
|
|
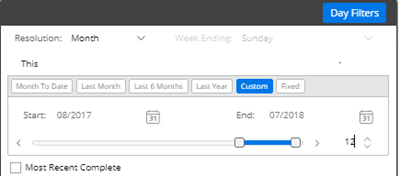
The date selector will affect all widgets that use the dashboard date (i.e., linked dates). |
|
