Create workspace filters

To create workspace filters

  1. Click the 
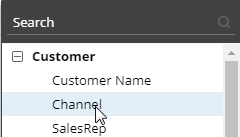
at the top of the dashboard screen to open the filter panel.  

  2. Click Create a filter. This option allows you to select members from a menu. If you prefer, you can filter on a collection of members.

  1. Select the dimension for which to create a filter. 

    If you do not see the dimension listed (in view mode): Check the Show All box to access dimensions besides those that were built into the dashboard. 

  1. Checkmark the member(s) to filter on.

Tips:  

The Exclude Checked option lets you show data for all members except the selected members.

You can import a file to quickly select members. Click at the top of the selection window to access this option.
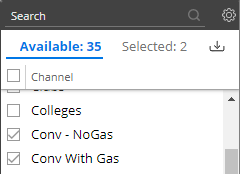
You can optionally click Save to create a collection of the checked members so that they can be reused later.

  1. Click Apply.

  2. Repeat steps 2 through 5 to create additional workspace filters if you wish.


  1. (Optional) Organize the filters by arranging them in groups and reordering them.

    Group: Click Add group at the top of the panel and enter a custom name for the group; then drag it to the desired location and arrange filters underneath it.

    Reorder: Drag and drop a workspace filter to move it up or down in the list. To move an entire group, press Shift as you drag and drop it onto another group. 


Tip:


If the data cube of a widget does not include the key/dimension of the filter, then the filter is not applicable and, therefore, does not affect the widget. For example, if the widget shows weather data that is only associated with a customer key, then a product filter, such as brand, will not affect the widget.