Workspace filters
A workspace filter affects widgets across the dashboard. A filter panel provides streamlined access to these filters.
To use workspace filters
Click  at the top of the screen to open the filter panel (keyboard shortcut: f). This button is blue when the filter panel is open.
|
Tips: |
|
 indicates how many workspace filters are currently on (does not include filters set to "All").
 or
or  means that at least one
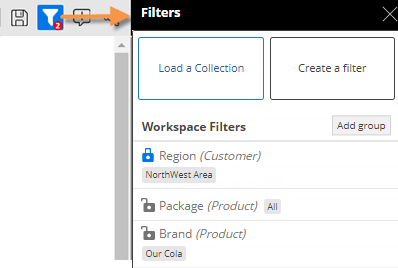
In the filter panel, choose from existing workspace filters or create a new workspace filter.
|
Option |
Instructions |
|
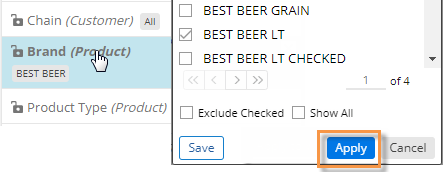
Make a filter selection (e.g., select a different member) |
Click on the workspace filter and make your selections in the pop-up window. Click Apply.
Tips: |
|
Reset a filter |
Place the cursor over the filter and click the X button. The filter will still be present but will show data for all members.
|
|
Remove a filter |
Reset the filter as explained above. Then, place the cursor over the filter and click the
|
 at the top of the pop-up window to access this option.
 button.
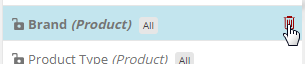
|
Tips: |
|
|
By default, workspace filters affect all widgets in the dashboard; however, they may be turned off for an individual widget or may not be applicable to a widget (e.g. attribute does not correspond to data in the widget). To see whether a workspace filter affects a widget, place the cursor over the widget title and refer to its tooltip. In explore mode, the filter panel also shows widget filters if a widget is selected. |
|
|
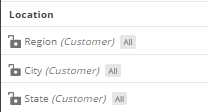
Workspace filters can be organized under groups. |
 |
|
The panel may be disabled in dashboard settings. |
|
|
We recommend that you avoid filtering by members with empty host codes. If you encounter such members, which usually appear as Undf# or DFLT, we recommend that you contact the administrator to correct the dataset. |
|